Showing posts with label Battle Objective. Show all posts

Tuesday, 21 July 2009

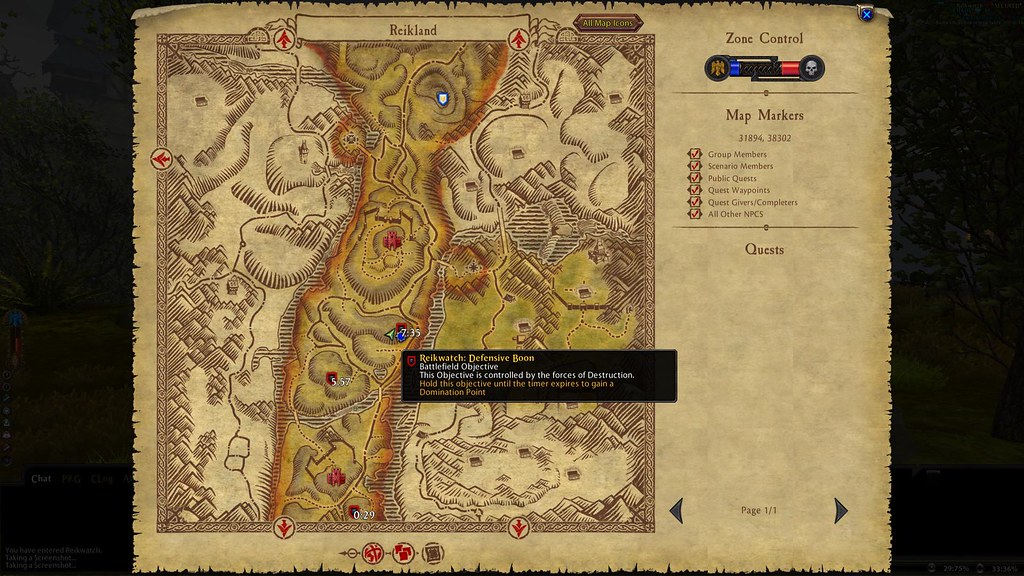
Reikland: Runehammer Gunworks: Defensive Boon

Location


This is objective is in the middle of the map fairly close to the destruction war camp. It is also very close to another objective, so can be taken in conjunction while the defence timer is running (If an active order group is not around.).

Terrain features
The battle objective is located on a plateau with 3 steep sides and a gentle slope to the west. As the objective is higher up and you can see the approaching enemy and can easily run or defend depending on numbers.

Defending the objective can be fairly simple against equal numbers if your melee dps and tanks can hold the ridge, while you healers hide out of line of sight. If you are against larger numbers and they attack all sides you can quickly be overwhelmed.

When attacking getting members south without being seen can be a good ploy, then use your main force from the north you can get into there healers quickly if they don’t post scouts on the south ridge.

Engagements
I have had some of the best fights at this objective. If you have two massive war bands there is plenty of open space but with the added advantage of using the slopes or the building at the east of the plateau to de-aggro yourself.

Reikland: Runehammer Gunworks: Defensive Boon

Saturday, 11 July 2009

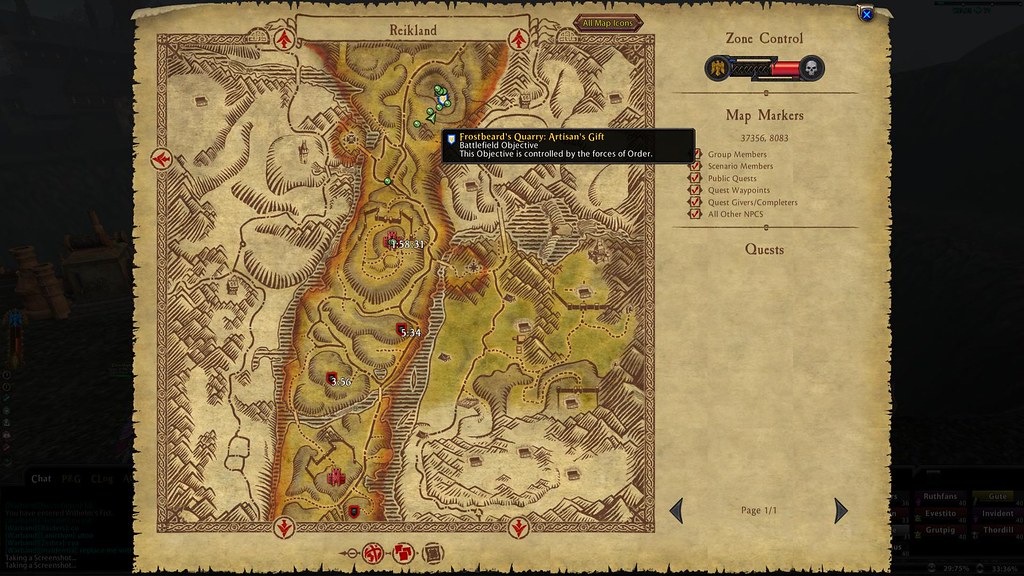
Reikland: Frostbeard's Quarry, Artisan's Grift

Location

Map Link

This objective is very close to the order war camp, from destruction point of view it is a bit of a lone objective and is used by order to ninja the objective before destruction can make it in time and maybe preventing a zone lock.

Reikland: Frostbeard's Quarry: Artisan's Grift

Terrain features

The battle objective is situated in sort of a crater with a path leading down and around, though a quick root in and out is available by means of a slope. Getting up the slope can be tricky but you just need to approach it from the right.

This objective can be a death trap for the smaller war band as it is a dead end and any approaching enemy can get a very good view of you war band numbers, without having to engage.

As the slope upwards is tricky it can be used as a farm point for ranged dps if they can taunt and pull the stupid lone war band stragglers up the slope.

Engagements

For destruction this can be a quick way to a war band wipe. Order can trap you at the objective, and any dead can quickly spawn back if their healers are pressed. My advice is hope the objective caps before order arrives and either quickly move up the slope or work you way round and push order closer to the war camp and then break off once you have sufficient numbers to make it away. So choosing when to cap this objective can be at important as fighting at it.

See more pictures here.